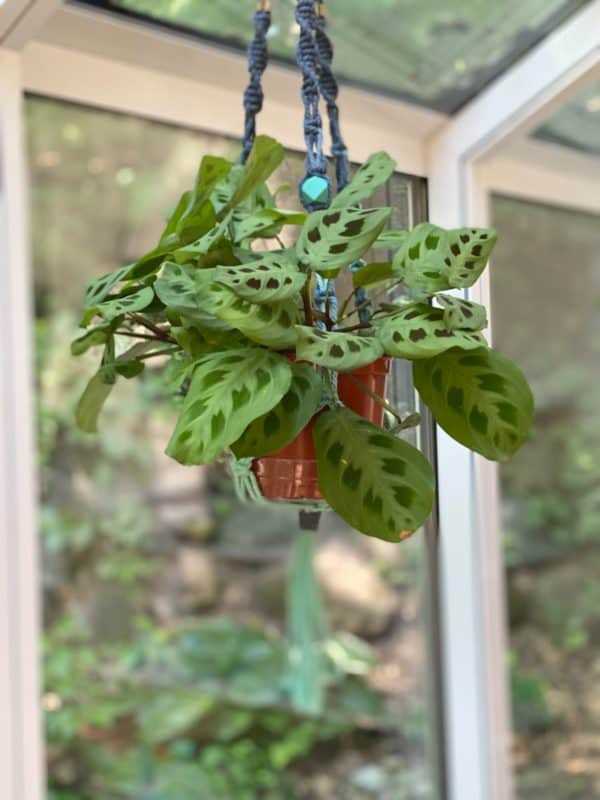
Whether you have one houseplant or twenty, at some point, you’re going to need to repot a plant. But it doesn’t have to be a daunting task—in fact, it is sometimes one of my favorite houseplant chores! It gives you a chance to get up close and personal with your plant and its root system, so you can really see how it is doing and help it thrive.
So let’s talk about how to repot a plant, and how to know when it needs to happen.

Table of Contents
Signs your plant needs a new, bigger pot
So how do you know when it’s time to repot your plant to a bigger pot? In general, when the roots get crowded, you need to size up the container. Look for these signs:
- Slow growth. If your plant was shooting out new leaf after new leaf, and suddenly slowed down, it is possible it is becoming root-bound and needs a new pot. This isn’t a sure sign though, as plants go through dormant periods as well.
- Stunted growth. If new leaves are suddenly smaller than they used to be, your plant may be running out of space in its container.
- The soil is no longer retaining water.
- The plant’s roots are poking out from the pot’s drainage holes. If the roots are long enough to grow out of the bottom of the planter, chances are things are looking a little cramped inside the pot, and the roots could use some more room to breathe.
- The plant’s roots are root-bound. If you aren’t seeing roots poking out of the drainage holes (or, gasp—chose a pot without drainage holes), but suspect that your plant is outgrowing its space, you can check the roots. Gently tip the plant out of its pot and into your hand, being sure to support the plant at its base. Inspect the plant’s root ball. Are they dense at the bottom and wrapped in the shape of the pot? Is there not much soil visible? Your plant is pot-bound, and ready for a bigger pot!
- The plant is top heavy. The general rule of thumb is that if the plant spreads more than three times the width of the pot, or if the plant is so tall and heavy that the pot is tipping over, you need a bigger pot.

Other reasons for repotting
Some plants are particularly slow growers, and rarely need to be repotted into larger pots. However, this doesn’t mean that they aren’t busy using up the nutrients in their potting mix! If your plant has been in the same pot and same batch of potting mix for over a year, you may want to consider repotting it just to give it some fresh soil and new nutrients.
You may also want to repot your plant because you want to move it from its plastic grow pot to a more attractive container, and that’s okay, too! In that case, check the root system to make sure your plant isn’t already root-bound—if not, you should be fine to keep the pot size the same as the current pot.
What size pot will I need?
Nearly every time you up-pot your plants, you should only go up one pot size. If you go too big too fast, there will be too much soil around the roots, and you’ll be inviting root rot and other diseases. No thanks! So if your plant is outgrowing its 4″ pot, you’ll want to repot it into a 6″ pot. A 6″ plant can be repotted into an 8″ pot, and so on.

This is not the time to “dress for the job you want.” Even if you’re hoping that your zz plant will eventually fill out that big beautiful 8″ container, don’t try transferring your 4″ plant into it right away. Instead, plan on needing to repot more than once, moving from a 4″ to a 6″ one year, and then the 6″ to the 8″ down the line.
And no matter what, please make sure your plants will have adequate drainage. The easiest way to do this is to choose a new pot with drainage holes. Your plants will thank you for it.
Growfully Protip
Have a beautiful decorative pot that you want to use, but it doesn’t have drainage? That’s a cache pot! Just pop the plastic grow pot right into the decorative pot—this will let the water drain away from the roots when you water, and any excess will drain into the cache pot. If water collects in the bottom of the cache pot, just lift out the grow pot, dump out the water, and pop it back in!
How to repot A houseplant
Supplies
- Potting surface. This is just to contain loose soil and make clean up easier! I use a tray from my grow light/plant stand for most of my repotting, but a tarp or newspaper works just as well. If the weather is nice, you can also just do your potting outside.
- New pot. Remember, if your plant has outgrown its old container, you only want to go up one size from the current planter.
- Fresh potting mix. What soil mix you use is going to depend heavily on what plant you are repotting.
- Trowel.
- Water.
- Gloves. Optional. I usually just go without and let my hands get dirty.
- Piece of screen or broken piece of terracotta, optional. If your pot has particularly large drainage holes and you are worried about soil running out of the holes, you may want to prevent this by setting the screen or terracotta in the bottom of the planter, over the drainage hole. I personally haven’t had a problem with this, but a lot of people swear by it.
Step-by-step how to repot a plant

- Gather your supplies. If you are using screen or terracotta to cover the drainage hole in your new pot, put that down first.
- Put a layer of fresh potting soil in the bottom of the new pot. Fill the pot about 1/4-1/3 of the way with fresh soil, so that you have plenty of room for the plant and its root system.
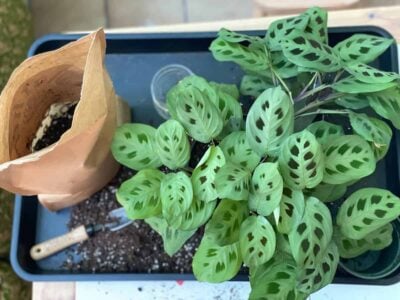
- Take the plant out of its old pot. Gently tip the plant out of its current pot into your hand, being sure to support the bottom of the plant well.
- Loosen roots and remove some of the old potting mix. Using your fingers, gently separate the thicker roots and loosen the plant’s root ball. Avoid breaking roots as much as possible—you want your plant to continue to thrive in its new planter! You’ll also want to remove about 1/3 of the older, spent potting mix to make room for new stuff.
- Put plant in new pot and top with fresh potting mix. Place your houseplant in its new home, making sure it is centered and upright. Fill in around the plant with fresh potting mix, gently tamping down the soil around the base of the plant.
- Water well. Help your plant settle in by giving it a good drink, making sure that any excess water drains out of the new planter.

Tips for a stress-free move
Sometimes, houseplants get a little dramatic about having to pack up and move to a new neighborhood, and can go into shock for a few days after they are repotted. If your plant is looking wilted or experiencing other changes immediately after repotting, make sure it has sufficient light, water, and drainage, and then give it a few days to bounce back.
To avoid transplant shock in your houseplants, make sure to follow these tips:
- Don’t go too big too fast. Make sure you are only going up one pot size at a time.
- Be gentle with the roots. Root-bound plants will need to have their roots separated, but otherwise, you want to be very gentle with the roots. Avoid breaking the root system any more than necessary.
- Don’t leave the root system exposed for too long. Once you start repotting your plant, finish moving it to its new planter in that same session.The roots will be unhappy if left exposed to the air to dry out for too long.
- Choose the right potting soil. Not only do you want to be sure you are using the right potting mix for the type of plant you are repotting, but you also don’t want to make too drastic of a change in the soil mix.
- Keep the lighting the same. Your plant is already used to a certain level of light—don’t change too many variables about its living conditions at once by repotting it and changing how much light it gets at the same time. If your pothos has been living in bright indirect light, moving your newly repotted pothos to a lower light environment will leave your plant droopy and sad.
nub

How to Repot a Plant
Repotting plants is an important part of keeping them healthy and happy. However, many people avoid repotting because they are intimidated by it. Learn the ins and outs of repotting!
Materials
- Plant to be repotted
- New container (see notes)
- Fresh potting mix
- Water
Tools
- Potting surface for easier clean up
- Trowel
- Gloves (optional)
- Piece of screen or broken terracotta (optional)
Instructions
- Collect your supplies. Place the screen or terracotta in the bottom of the new pot to cover the drainage hole, if using.
- Fill the new container 1/4-1/3 of the way with fresh soil.
- Gently tip the plant out of its current pot into your hand, supporting the base of the plant well so that it doesn't break.
- Use your fingers to gently separate any root-bound roots and remove about 1/3 of the older potting mix.
- Center the plant in its new pot, and fill in around the plant with fresh potting mix. Gently tamp down the soil around the base of the plant.
- Give your plant a good drink.
Notes
- Generally, when your plant is ready for a bigger pot, you only want to go up one size at a time. Too much soil and space around the roots will make your plant more prone to root rot.